Wednesday, May 16, 2012

Coffee Cake is the best kind of cake.

Hello, friends! 
Please forgive my absence, I have been settling into a new house.
(The kitchen is wonderful.)


Fabulous. Look at that double oven.
Okay. Anyway. There's a line in this one song about this girl, and it goes like this
"Betty won't stop listening to modern rock
How she hates to be alone
I try to compensate her lack of love with coffee cake,
Ice cream, and a bottle of ten dollar of wine"
Some may argue that chocolate is the ultimate cure or a "lack of love"
Nope. It's coffee cake.
Always coffee cake.


While I will agree these aren't very good looking, I will tell you that they are delicious.
So here we go.
First, we'll make the cake. 
Combine your yogurt and baking soda together. This will end up bubbling up a little bit. That's okay.


See? Bubbly.
So now take a separate bowl, and cream your butter and sugar together. Then add your egg and vanilla. 
Mix well until combined.


In another bowl, combine your flour and baking powder. 
Now you're going to add this flour mixture to your sugar and butter mixture alternating with the yogurt mixture.


Yeah. 
Here comes the fun part.
We're going to make a little syrup. 
When I was doing this I was so excited I was jumping up and down and stuff wow I wish i got a picture.
[I get way too emotional and excited about food.]
Ok so take a little bowl, and put 4 Tablespoons of butter in it, and pop it in the microwave until its all melty and nice. 
then add some maple syrup, brown sugar, and cinnamon. 


YEAH.
Okay, so then take a scoop of your cake batter, and put it in one muffin cup 


Try and get it to cover the bottom completely. 
Then spoon your syrup over it, a little less than 2 Tablespoons per muffin


YES
Then plop some more cake on top, then mix up some butter, flour and brown sugar and sprinkle on top for a crumbly top, and put it in the oven.
{You can do this with a cake pan, and just alternate cake, syrup, cake, crumble}
 And bam, beautiful muffins.


Cinnamon Coffee Cake
For cake:
-1 cup plain yogurt
-1 egg
-1/4 cup butter, softened
-1 tsp vanilla extract
-1 cup lightly packed brown sugar
-1tsp baking soda
-1 1/2 cups all-purpose flour
-2 tsp baking powder
For syrup:
-4 Tb butter, melted
-2 Tb maple syrup
-2 Tb brown sugar
-1 tsp cinnamon
For crumble:
-2 Tb brown sugar
-1 Tb all-purpose flour
-1 Tb melted butter
-1/8 tsp cinnamon

Monday, March 19, 2012

I'm not Irish enough to make a St. Patty's Day dessert.


Hello, friends!
I hope you had a very merry St. Patty's day.
I have some news for you.
This will be the last time you will see this particular kitchen here on love in the kitchen.
The love will be moving to a new, {bigger}, and equally as awesome kitchen in the next few weeks. 
This is part of my excuse for not updating recently.
[Besides being lazy... oops]
I hope to post something again as soon as we get semi-settled.


Onward to our journey of these chocolate covered strawberry cupcakes.
This idea came to me in US History class.
I was just thinking of how much I missed the chocolates I bought myself for my birthday,
and then I got to thinking about how delicious Godiva's chocolate covered strawberries are.
And then I thought about how I haven't posted a new blog in a while.
And then I thought about cupcakes.
And then I was just like
"HEY. How about I make some strawberry sauce, inject it into chocolate cupcakes, and then top with chocolate frosting and a slice of strawberry?"
Also it was my good friend Randi's birthday, and she needed some sort of sweet.


So I called over my good friend Nick...


And Natalie, who loves my dog.
And they helped me make these cupcakes.


So first, mix up all your dry ingredients, except the sugars. 


Then pretend you're a frightened chocolate warrior.


Cream together the butter and sugars.


Add sour cream. This is the first cake I've ever done with sour cream, and it's so good, You can taste a little bit of tanginess (that is 100% not a word) in it, and it's so moist.


On a low speed, alternate adding the flour and cocoa mixture...


...And your buttermilk. This also added to the slight, pleasant tang of the cake. Perfect.


Then distribute the batter into your muffin cups.
{I got a nifty cookie scoop for Christmas and it works great with cake batter too!}

And pop them into the oven. 


While those cook, whip up a simple strawberry sauce.


I just threw a bunch of strawberries,


sugar, and a little but of lemon juice in my blender and pureed until smooth.
Then....


When your cuppycakes are completely cool, it's time to fill them with this strawberry sauce.


I got this little cupcake injector thing for Christmas, too. It's perfect for this job.
But if you don't have something fancy like this, a pastry bag with a small, rounded tip will do just fine.


{"It's just like surgery!" the baker says, not knowing what any type of surgery is like...}
Just push the tip through the surface of the cupcake and fill until it starts to overflow. I have a tendency of under filling them, which is bad.
[In hindsight, I should have definitely taken the cuppycakes out of the tin.]
And I was too lazy to make chocolate frosting, so I just put canned frosting on top.
I hope you enjoyed this time we just spent together. 
And I hope you try out some of my recipes. 
If you do, be sure to tell me, whether it be in the comments, in person, whatever it may be.
I love hearing from you, my darlings <3
Cheers,
Emily

Black Forest Cupcakes
(From Martha Stewart's Cupcakes)
Yields 32
Ingredients:
1 cup plus 2 Tablespoons unsalted butter, room temp
1 cup plus 2 Tablespoons unsweetened cocoa powder
2 1/2 cups plus 2 Tablespoons all-purpose flour
2 teaspoons baking soda
1/8 teaspoon salt
1 cup granulated sugar
1 cup packed dark-brown sugar
3 large eggs
3/4 cup sour cream
1 1/2 cups buttermilk
Preheat oven to 350 degrees. Line muffin tins. With an electric mixer on high speed, cream butter and sugars until fluffy. Add eggs, one at a time, beating until well-incorporated and scraping down sides of bowl as needed. Mix in sour cream. Reduce speed to low, and add flour mixture in three batches, alternating with two additions of buttermilk, and mixing until just combined after each. Divide evenly among muffin cups, and bake, rotating tins half way through, until tops are firm and a toothpick inserted in the center comes out clean. About 20 minutes.

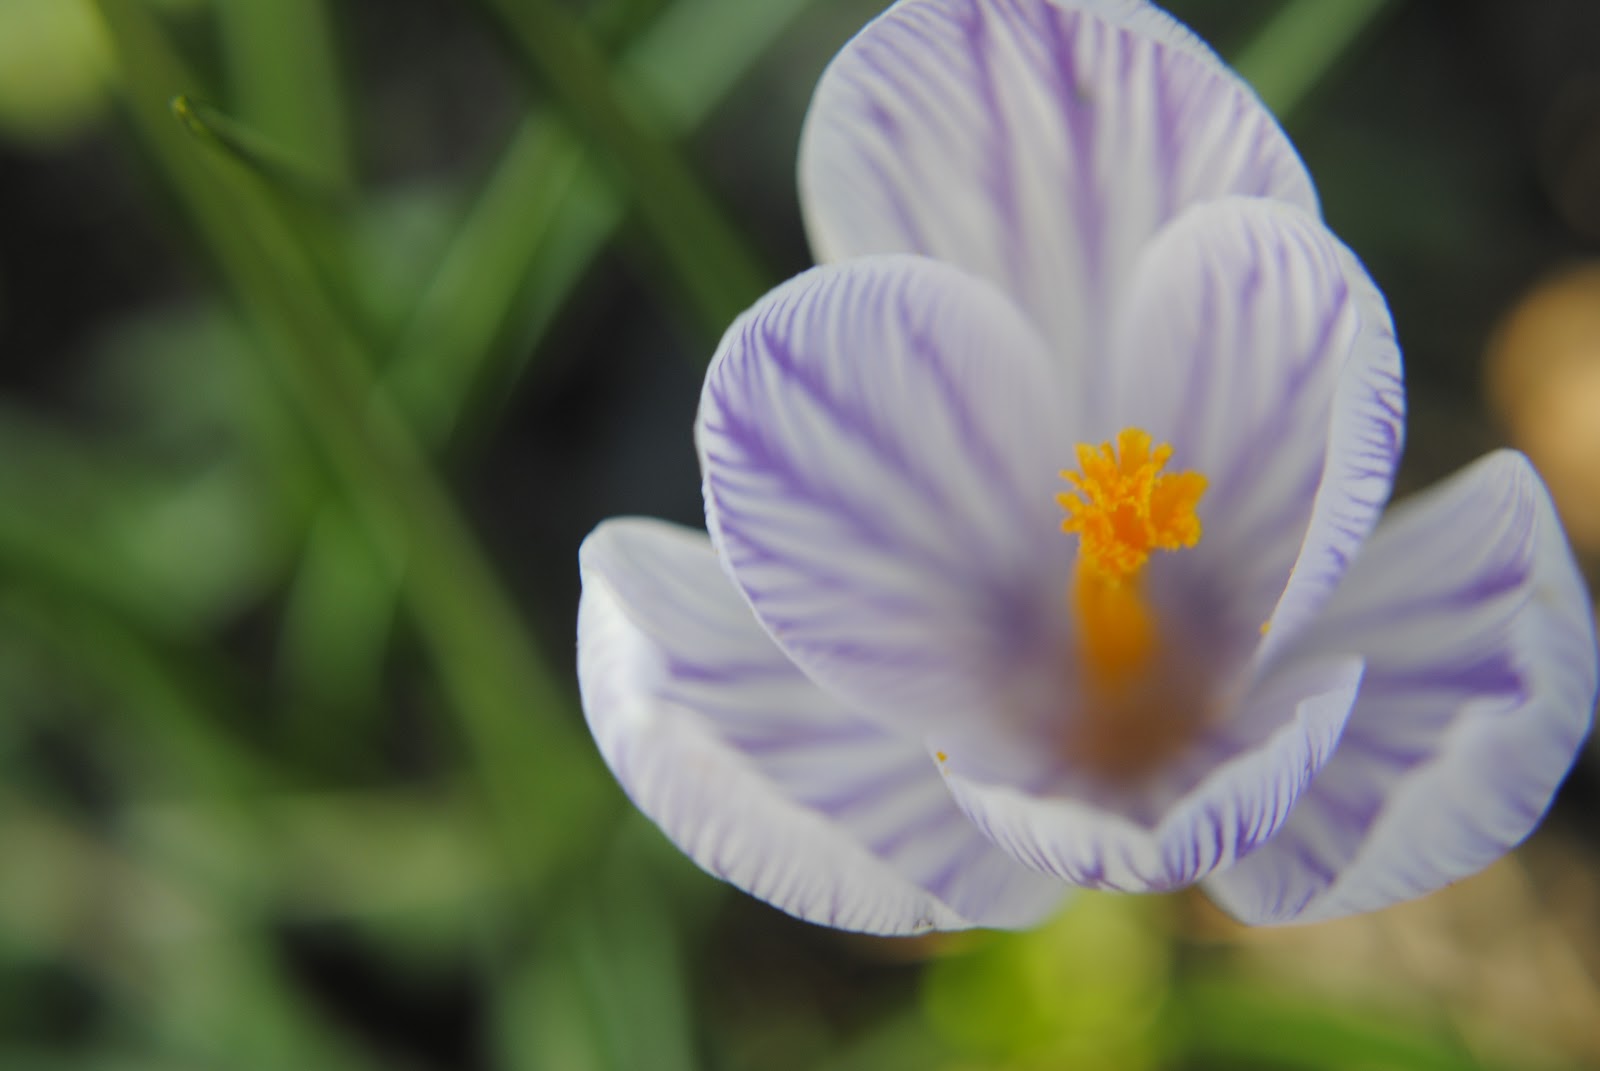
P.S. Spring came early this year in the Chicago area. Here are some pictures I took of the flowers that bloomed in my backyard.


Wednesday, February 22, 2012

π

The way to someone's heart is through their stomach.
I know this better than anyone.
Last week, I noticed my good friend Miguel has a slight obsession with apple pie.
I took this as a challenge. 
First of all, I have never made pie before.
Second, I am always up for making people love me because of food.
So it happened.


Pie is surprisingly easy to make. The only issue is how time-consuming it is.
The first order of business is the crust.
I did a butter crust, which isn't very sweet, but is very flaky.
{My friends said this was the best part}
First combine your dry ingredients together in your food processor.


Then, add your cold butter, that is cut into chunks, into your food processor and pulse until the texture is like breadcrumbs.


Then add your water one Tablespoon at a time. I only used about three Tablespoons to get it to a nice consistency-doughy but still crumbly.


[I love this picture. Self timer rocks]
Now, flour your surface and pound your dough out with the heel of your hand.
What this does is take the fat (butter) and flour and layer it so you have a nice flaky crust.
You don't want to work it too much with your hands because this will melt the butter and your crust will suck.


Divide the dough in half, wrap it in plastic and chill for at least an hour, and up to 2 days.


Now onto the apples. 
{This is time consuming.}


[Hi Mom <3]
Peel all seven of your apples-it's helpful to have an assistant


Then slice them.


Aw yeah


That's a lot of apples. 
You'll want to store them in a bowl with some lemon juice or, even better, apple juice, so that they don't brown.
Then mix up your flour sugar cinnamon and nutmeg and coat your apples with this and 3 Tablespoons of lemon (or apple!) juice.


Take out your pie crust, let it sit for 5-10 minutes, and then roll it out and place it in your pie pan.
I had enough apples and pie crust with these recipes to make two pies- but not enough to cover each pie with crust.
Put your apple mixture in the pie and cover with more crust or with a streusel topping-brown sugar, flour, and butter.
And you're done! This took me a total of about three hours. Oh man.

Butter Crust
2 1/2 cup All-Purpose flour
1 teaspoon salt
1 teaspoon sugar
1 cup unsalted butter-very cold, in cubes
3-8 Tablespoons ice water
Combine flour salt and sugar in food processor. Add butter and pulse until it resembles breadcrumbs, with pea-sized chunks of butter.
Add ice water one Tablespoon at a time until it just begins to clump.
For a flaky crust, pound dough with heel of hand.
Shape into 2 discs, wrap in plastic and refrigerate for at least one hour. Dough can be kept for up to two days.
Let sit at room temperature 5-10 minutes before working with again.

Apple Pie Filling
Very slightly adapted from Paula Deen
3/4 cup brown sugar
1/4 c All-Purpose flour
3/4 teaspoon cinnamon
Nutmeg, to taste
7 medium apples (I used Granny Smith) peeled, cored, thinly sliced
3 Tablespoons lemon or apple juice
Preheat oven to 450 degrees F
Mix flour, sugar, cinnamon and nutmeg together in a medium bowl.
In a large bowl, toss apples with juice, until coated with little at the bottom of the bowl.
Stir in sugar mixture to evenly coat the apples.
Roll out crust and line a 9-inch pan.
Put apple mixture in pie in mounds and cover with crust.
Brush crust with egg wash for an appealing brown color.
Bake for 45 minutes. Pie should be soupy. Let sit for 20 minutes, or until filling firms up.


Leave any comments down below, and I always take suggestions for next time!
xoxo
Emily


Wednesday, February 8, 2012

La la la LOOOOOOVE is in the air.


Valentine's day is such a bogus holiday. I'm not even going to lie. It is the most pointless holiday right after Groundhog's day, and both of these come in the same month.
I would say we should all just get rid of February, but since it's so short I think I can tolerate it.
Besides Valentine's day being extremely dumb, I really do like chocolate.
...I mean, who doesn't, right?
And if you're cheap, like me, you will find a reason to NOT buy that huge heart box filled with delicious tiny morsels of perfect chocolate with a mystery filling inside.
{Okay, that's a lie. I buy myself nice chocolates all the time. I spend like 80% of my money on food. I'm not sorry.}
But, if you're cheap and need to get your girlfriend [or yourself, for all da single ladiez] some nice chocolates for  the most pointless Hallmark holiday ever, this is the blog post for you.


This is all you need.
Chocolate. [Any type you want] and heavy cream.
All you want to do is break up the chocolate into a small bowl


Then add half as much cream as there is chocolate.
Make sure you know your measurements.
{.5 Tablespoon=1oz}


Then place this bowl over a pot of simmering water, and melt it all into a nice creamy mixture.


Then, cover it and put it in the fridge
(or freezer, depending on how impatient you are.)


BAM FRIDGE
Okay so them once it's sat for about an hour or two, pull it out of the fridge.


Beautiful.
This is where the real work comes into play. 
Gather up whatever you want to cover your truffles in.
More chocolate, sprinkles, cookie crumbles, nuts, whatever your sweet little darling heart desires, and line them all up in little bowls.


{I used sprinkles. Lots of sprinkles. And it's like glitter. It gets EVERYWHERE}
Well, I mean, I guess the little bowls aren't really necessary, but since my mother has an obsession with tiny bowls, we have a lot.
So just scoop little bits of your truffle chocolate stuff and then roll it in your palms to form a little ball, and then roll that around in your topping.


Boom.
Happy Valentine's Day, my lovelies. 
And remember, if you don't have a special someone on this bogus day of love, you always have me. 
xoxoxo <3