Monday, October 31, 2011

About that title...

So this post has nothing to do with food, but more about music.
Who likes music?
I like music, and if you don't, I'm sorry, but we can't be friends.
So my blog title, "Love in the Kitchen" is not just something that randomly came to me in a dream or something like that. 
I had some inspiration.
My lovely cousin Elena has a band called Just Wandering, and they wrote a lovely song called
Love In The Kitchen.
It's beautiful and her voice is absolutely amazing and you definitely should check them out at their Myspace here.
I would add in the mp3 clip I have of it, but I can't seem to figure out how to work that so until then, so listen to the song there forever and ever yay!

Much love,
Emily.

Boo!


Hey you crazy kids!
Halloween just ended, so I guess I'm a little late on the festivities, but I'm busy ok.
I made 48 mini pumpkin muffins for a party this weekend, and I thought I'd share with you.
{And to be quite honest, I'm not really one for festivities}


{Uh... Except the winter holidays.... Too soon?}
But anyway, what's good?
I know what's good. These mini cupcakes I made.
Doggone delicious.
So let's get to it, then.


For any good pumpkin recipe, you need pumpkin! 
Yay! 
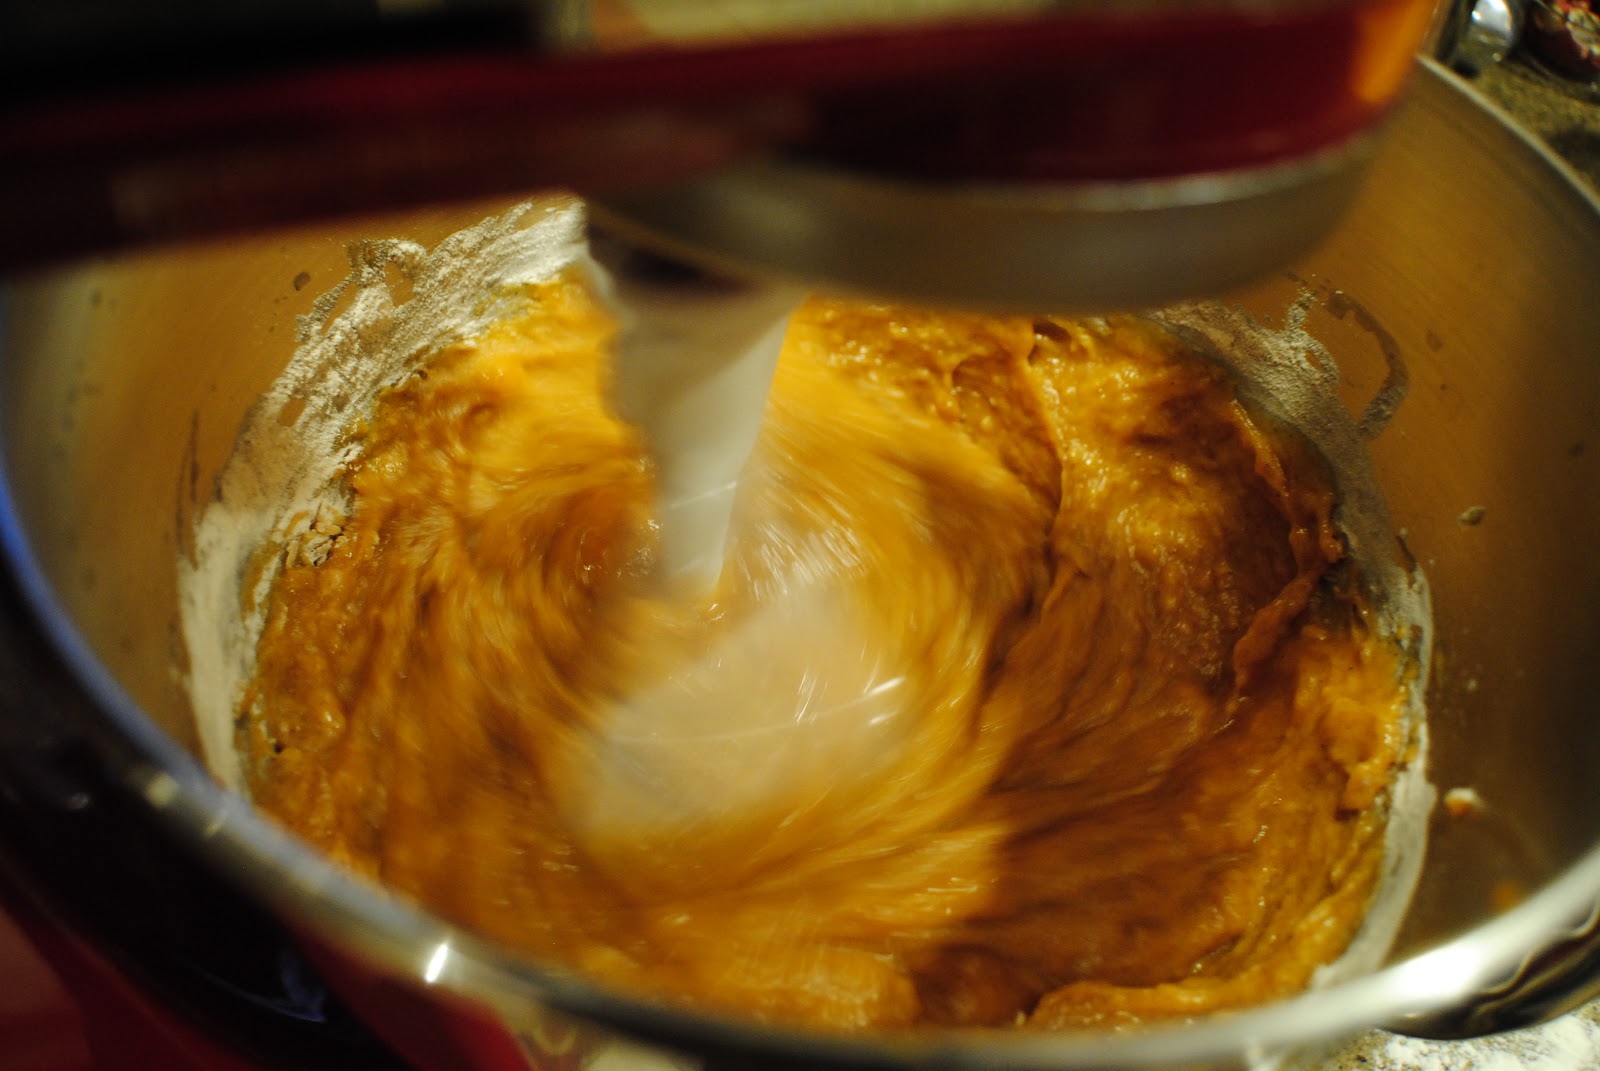
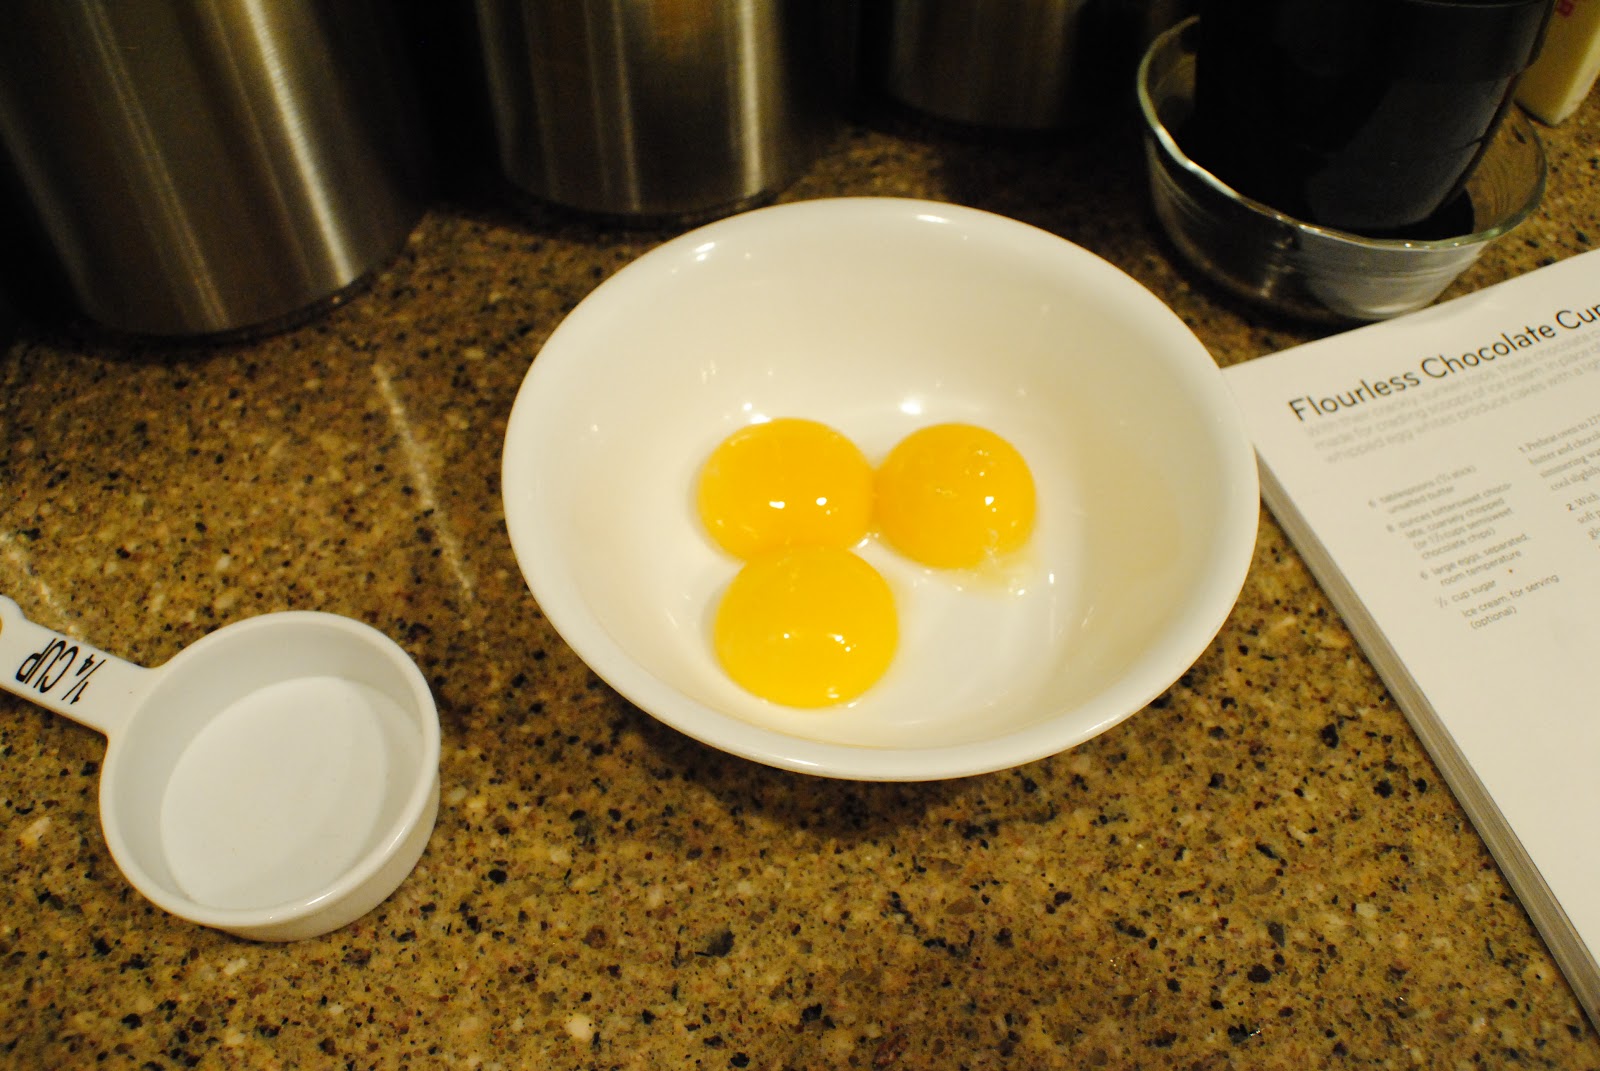
So take your pumpkin, sugar, and eggs, and mix them together.


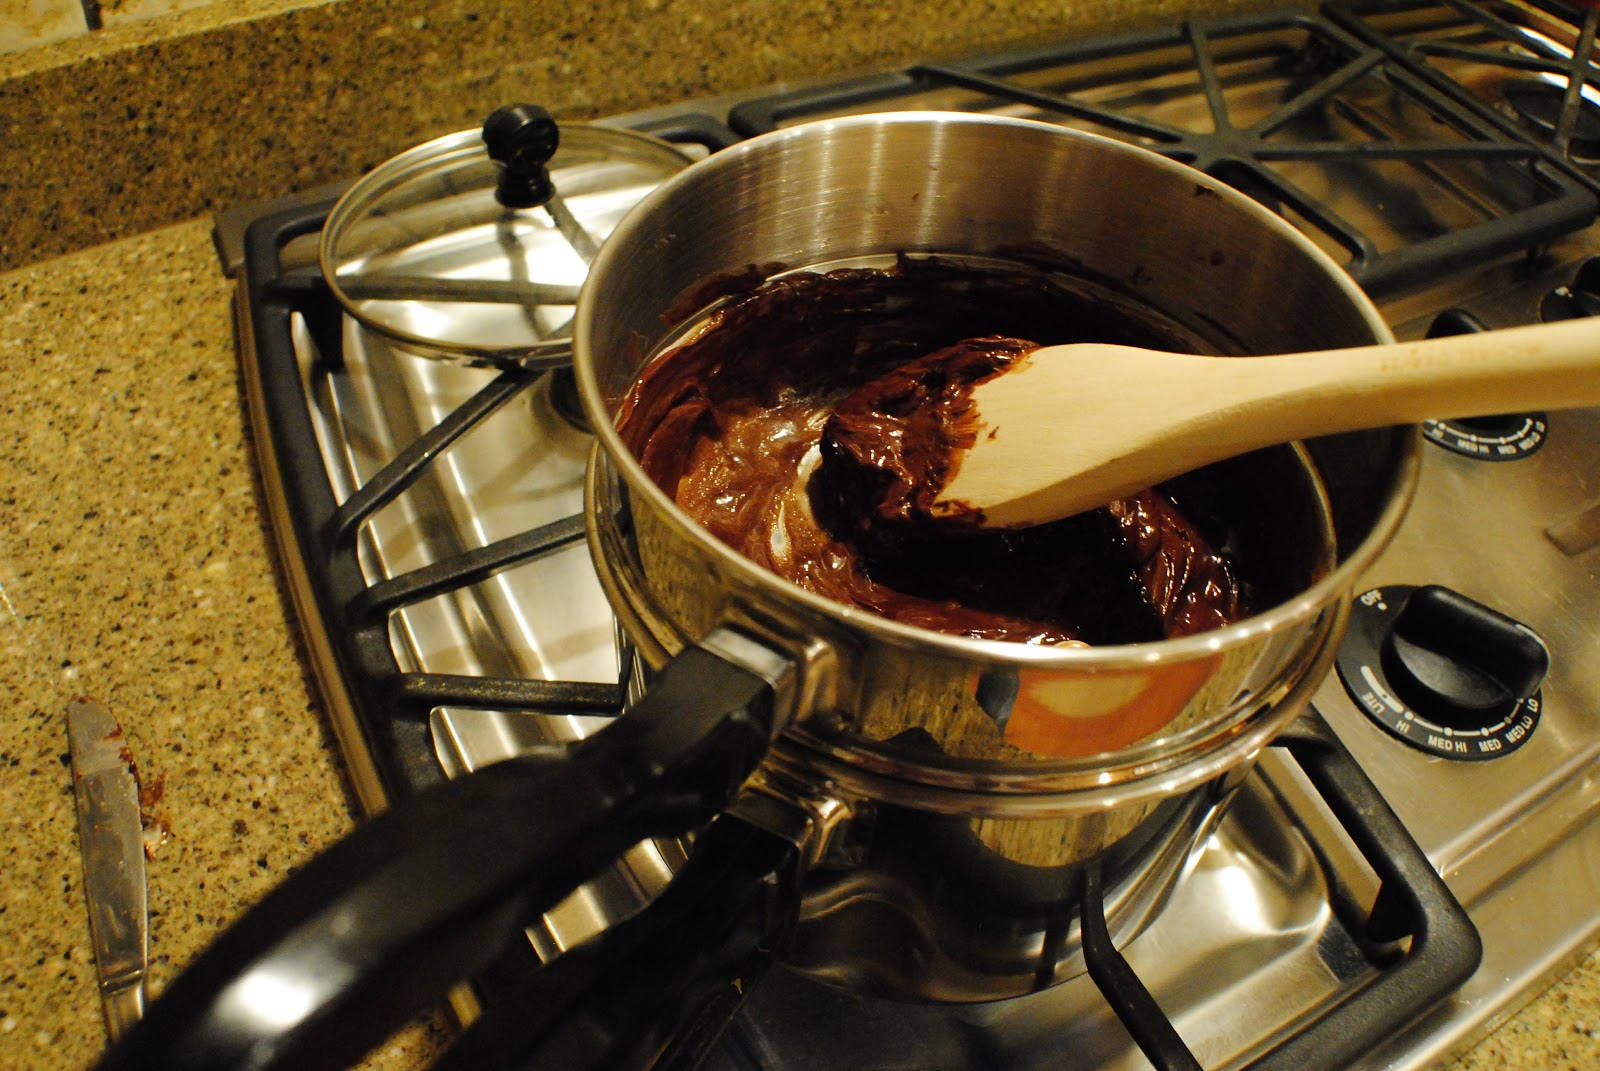
I really hate the smell of pumpkin. It was so gross mixing the batter for these, serious.
But when they came out of the oven, my kitchen smelled like heaven.
Funny how that works out.
So uh where were  we?
Oh right.


Sift your dry ingredients. (Except the sugar. You did that already.)
I added a little pinch of nutmeg.


And a teaspoon of this fancy stuff I found in the grocery store.
Man, it's like they took all the delicious things you need for your pumpkin spice deliciousness, and put it in this nice little package, making your life so much easier.
Thank you, McCormick spice company. You are a beautiful thing.


So there you go, your dry ingredients. 
The recipe doesn't say to sift it, so I guess you don't have to, but I like to because it ensures there won't be any clumps of flour. 
And if you read about my blueberry muffins, I'm pretty afraid of flour clumps.
I had a couple bad pancake experiences with flour clumps. Yeah.


So, pour that in your wet ingredients.
I added half of the dry ingredients, let it combine, then added the second half.


{If that's not a good action shot, then I don't know what is.}
So this is the time that I now introduce you to your new best friend.


Ziploc bag, my readers. Readers, Ziploc bag.
So basically what you do is turn it almost all the way inside out and keep just the corner in the palm of your hand, then take a rubber spatula and scoop your batter into the bag.
Cut off a little bit of the corner, and you have a professional mini-cupcake batter distributor.
[Uh... Did I spell that right?]


It just makes your life better.
Like a pastry bag, except cheaper and better.
You don't have to worry about your batter running away from the top, because you can seal it closed.
Even though you shouldn't fill a pastry bag all the way, but whatever.
Cheaper.


I think I forgot to show these off. 
Spider mini-muffin liners.
Beautiful and adorable and perfect.


So, now pop these in the oven at 350 degrees for about 20 minutes.
I made 48 mini-cupcakes, and then some.


This is the "and then some", the next morning.
No. Joke.
And this wasn't the work of the dogs.
So... Do you want to know the secret to my cream cheese frosting?


Okay cool., this will be a long post. YAY
So, first of all, I HATE cream cheese frosting.
I don't like cream cheese, I don't like the weird taste that's all oily and stuff in my mouth after.
I just hate it. All-around.
So I found this recipe, when I made a cake for homecoming.


It was a red velvet cake, with a cheesecake in the middle.
I made it twice.
Anyway, when my friend Alyssa (Who helped me make soup) [Her Twitter] ate it, she stopped eating the cake altogether and just scraped the frosting off. 
That. Good.
So first you have your cream cheese.


Blend that up until it's smooth, then add your sugar and your vanilla (or whatever extract you choose)
[I put in a bit of chocolate extract in for my red velvet cake, but for these pumpkin cupcakes I just left the vanilla.]
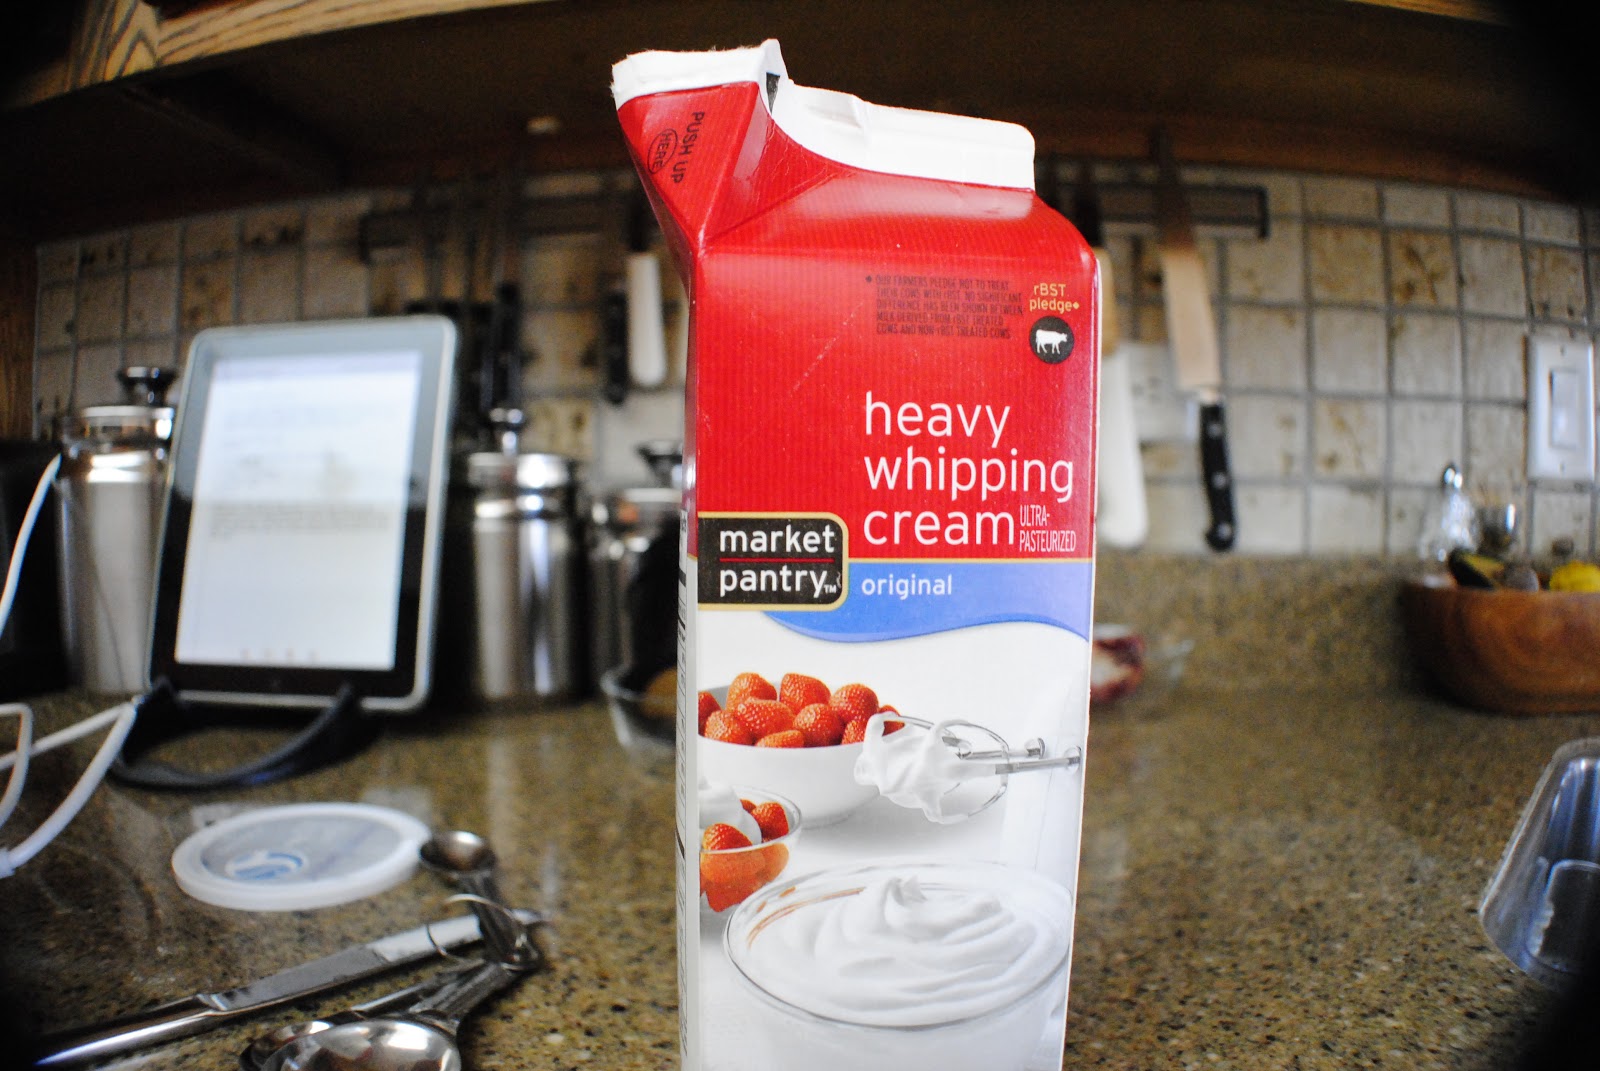
Then, here comes the magic.


Whipping cream.
I love whipping cream.
This is why the frosting's so good.
Add that in until its a firm consistency and can hold a stiff peak.


Just like that.
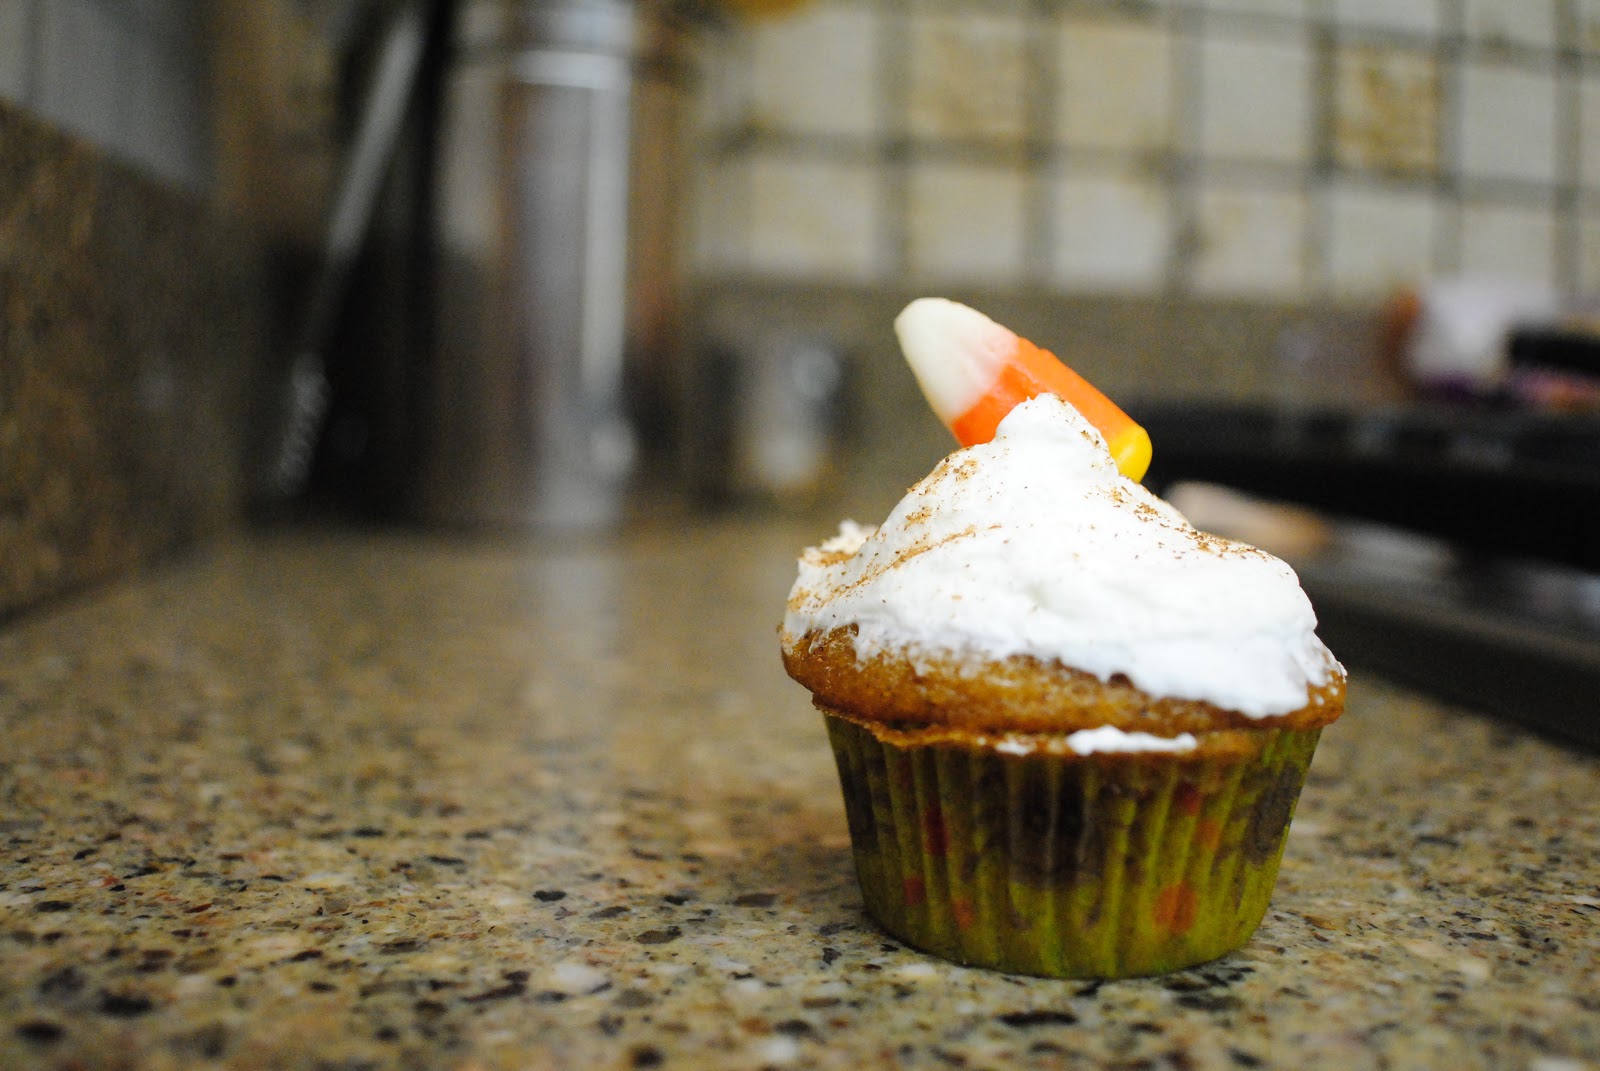
I put some of this on those cupcakes, sprinkled them with a little bit of cinnamon, then topped them off with candy corn.


Try and tell me it's not the cutest thing you've ever seen.

Pumpkin Cake Recipe
Adapted from Food.com
Ingredients:


Preheat oven to 350°F.

Grease and flour one glass 9 x 13 inch pan, or 24 line 24 muffin cups

In a mixing bowl, beat together the eggs, sugar, oil and pumpkin.
Sift together the flour, baking powder, salt, baking soda, salt and cinnamon; add to wet ingredients and mix thoroughly.
Spread into prepared pan. Bake at 350° for 20 to 30 minutes.


Whipped Cream Cream Cheese Frosting
From here
Ingredients:
  • 1 (8 ounce) package reduced-fat cream cheese, softened
  • 1/2 cup white sugar
  • 1 teaspoon vanilla extract
  • 1/2 teaspoon almond extract
  • 2 cups heavy cream

Directions:
Combine the cream cheese, sugar, vanilla extract and almond extract in a large mixing bowl or the bowl of a stand mixer. Fit the mixer with the whisk attachment and mix on medium speed until smooth. While the mixture is still whipping, slowly pour in the heavy cream. Stop and scrape the bottom of the bowl a couple of times while you continue whipping until the cream can hold a stiff peak.

Friday, October 21, 2011

My FAVORITE Cupcakes


Hey kiddos!
The other day, I made my favorite cupcakes ever. 
They're my favorite for a couple of reasons.

1. They're super fun to make.
2. They taste delicious!
3. They're a complete paradox. Only 4 ingredients, but it's a complicated recipe.


So, first, you preheat your oven to 275 degrees.


Boom.
Then, separate your eggs.


Awesome.
Then, heat water in a pot (or, if you're fancy like me, the bottom pot of your double boiler). Make sure that there's enough room above the water for a heatproof bowl to sit on top of your water-pot without having the bottom of the bowl touch the water.
You don't want the water to boil, just a gentle simmer. So put it on the range on low heat.
Then put your chocolate and butter in the pot.


And stir until the mixture becomes nice and creamy.


Alright. Perfect.
Now, take your chocolate off the heat and let it cool.
While that is cooling, whip up your egg whites.


{Hmm... Not quite...}


There you go!
Then, add your sugar and whip them again until stiff peaks form, but make sure they are not dry.
When that's done, add your yolks to your chocolate mixture.


And whip them in.
Then, take 1/4 of the whites mixture, and add it to the chocolate mixture.


Then, when that's combined, add it to the whites mixture, and GENTLY fold it in.
{Make sure to be gentle- you don't want the whites to collapse.}


Lookin' good!
Now, pour it in your cups and bake for 20-25 minutes!
(Before....)


(And after!)


They're best with fresh whipped cream, but I got lazy and just used the stuff out of a can.
[whoops]


Flourless Chocolate Cupcakes
(From Martha Stewart's "Cupcakes")
Yields 22
{I halved the recipe}

Ingredients:
-6 tablespoons (3/4 stick) unsalted butter
-8 oz bittersweet chocolate, coarsely chopped. (Or 1 1/2 cups semisweet chocolate chips)
-6 large eggs, room temperature
-1/2 cup sugar

Preheat oven to 275 degrees. Line standard muffin tins. Melt butter and chocolate in a large heatproof bowl set over (not in) a pan of simmering water. Stir to combine, then remove bowl from heat and let cool slightly. Whisk in egg yolks.
With an electric mixer on medium speed, whisk egg whites until soft peaks form. Gradually add sugar, beating until peaks are stiff and glossy but not dry (do not overbeat). Whisk one quarter of the beaten egg whites into chocolate mixture to lighten; gently fold mixture into remaining whites.
Divide batter evenly among lined cups, filling each 3/4 full. Bake until cupcakes are just set in centers, about 25 minutes. Let cool, the centers will sink. 

Enjoy!
Much love.
- Emily.

Sunday, October 16, 2011

Souper Saturday

My lovely little sister Ruby photographed for me for this post. c:


I made you soup.
Actually, it wasn't just me.


 My good friend Alyssa (Follow her on Twitter here!) helped me out.
Once, when we were about 10 years old, we made soup together and it was so delicious so we decided to do it again.
BUT THAT'S NOT ALL.
I also made bread.


Cheesy, delicious, perfect for soup-dunking bread.
But this is about the soup.


{It's a mysterious swirl of vegetable and goodness}
So, here's how it went. 
(I don't have lots of pictures of the individual vegetables so you get lots of pictures of me and Alyssa stirring...)


[...Together]
So, first, we boiled our carrots and pasta {THAT WAS IN THE SHAPE OF STARS!}


Great teamwork shot right here.


So. Darn. Cute.


{So photogenic.}
Then, while that was cooking, Alyssa chopped the onions and I cut the chicken.
(I forgot to ask if she cried.)
Then, we put the onions in the soup pot with some butter, and let them just get translucent.


Then, when the onions were almost done, I put the chicken in.
When the chicken was almost done, then we poured in the [store-bought] veggie stock and the carrots and pasta.


Look at those stars!!!! Ugh so cute.
We let that simmer for about 10 minutes on medium heat.
Then we seasoned.


And seasoned.


More seasoning...


Then we stirred.


And Alyssa made bad jokes.
(No, this picture was not posed at all.)


And I reacted.


And we're really pretty.


Then it was finally ladle time!
[I really love ladles. I don't know why. They're like, these big oversized spoons and they're just so great okay?]


So we ladled our soup into our bowls.


Voila!
Oh, did I forget to show you my bread?


Oh, I posted a picture earlier? Oh, sorry. Is your mouth watering yet?

...

Thought so.

Ciao.